Identifying and Selecting Geometric Entities by Index Number
When following the step-by-step instructions for building a COMSOL Multiphysics® tutorial model, you may be provided a list of geometric entities, such as boundaries or domains, to select. Although you can hover over the geometry with the mouse to see the number or name of a geometry object, domain, boundary, edge, or point and make selections through trial and error, there are multiple other ways you can easily make such selections of the geometry, outlined here. We will also discuss how to use the functionality, in addition to other features, to easily identify the different parts of your model geometry.
The Selection Toolbar Buttons
The step-by-step modeling instructions that are included with models in the Application Libraries often include a long list of entities to select, for example:
Select Boundaries 10, 11, 13, 14, 16, 20–23, 25, 26, 28, 29, 32, and 36–39 only.
Rather than trying to identify these boundary numbers in the model, you can simply copy this list of numbers and then paste it into the selection list using the Paste Selection dialog box.
First, click the Paste Selection button in the selection toolbar. This will open a dialog box where you can enter a space-delimited and/or comma-delimited list of entities. You can also use a dash to specify an inclusive range, so 1-4 is equivalent to 1, 2, 3, 4.
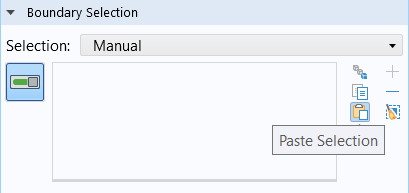
The Paste Selection button in the Selection Toolbar, which is contained in the geometry selection section of a model tree node's Settings window.

The Paste Selection dialog box, a pop-up window that opens upon clicking the respective button.
After you click OK, you should see the geometric entity numbers you specified included in the geometry selection for the respective node you have open in the model tree.
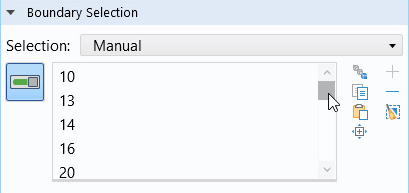
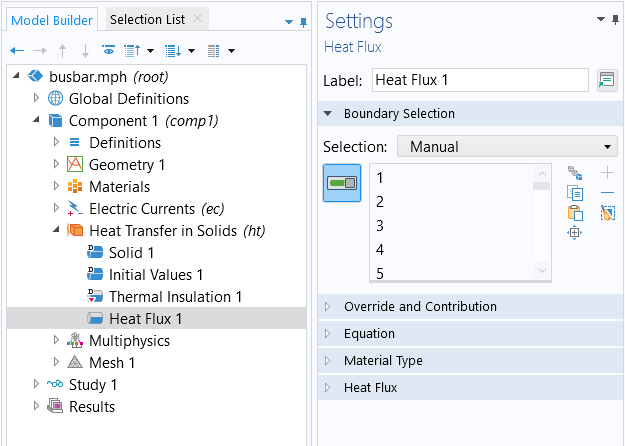
The Boundary Selection list, after having pasted the list of boundaries specified earlier.
For a video demonstration of these steps, please see the Selection List Window chapter of our tutorial video on Selecting Geometric Entities in COMSOL Multiphysics.
The Selection List Window
You can also add geometric entities to the geometry selection for a node through using the Selection List window. This is available through the Home ribbon tab, under the Windows button and choosing Selection List. On the Linux® operating system and macOS, it is available from the Windows menu.
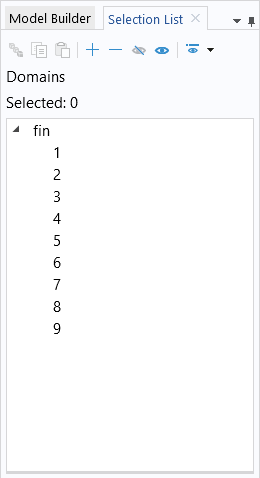
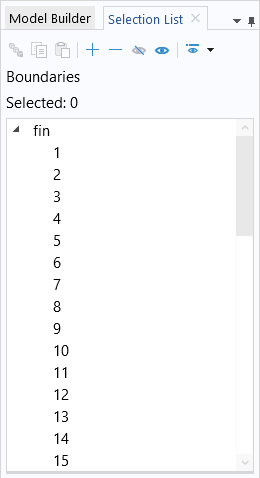
The Selection List window displays a list of the geometry labels based on the geometric entity level defined by the Activate Selection button in the Settings window. For example, if you were to add a Temperature boundary condition under the Heat Transfer in Solids interface, the active selection will be on the boundary level. This is true as long as the Activate Selection button is toggled ON.
The Temperature boundary condition node, wherein the Activate Selection button is toggled ON and enables you to select at the boundary level.
By highlighting one or multiple labels in the list, the corresponding entity will be highlighted in the Graphics window, helping to identify the different parts of your model.
 A screenshot of the COMSOL Multiphysics Model Builder, with the Settings window to the left, list of selected boundaries to the right, and automotive muffler model geometry in the center, with certain boundaries highlighted in yellow.
Several interior boundaries are selected for the boundary condition in the Settings window. The Activate Selection button is toggled off, hence the boundaries included in the selection are highlighted in yellow in the Graphics window and you can select other geometric entity levels (such as domains, edges, or points).
This is useful and convenient for when you know the geometric entity number to select, like when following the step-by-step instructions for a tutorial model. It is also useful when working with complex geometries or when trying to select hard-to-reach geometric entities, such as an interior boundary. By highlighting one or multiple geometric entities in the list, the corresponding entity will be highlighted in the Graphics window, helping to identify the different parts of your model.
Tutorial Video: Identifying Geometric Entities in a Model
To identify the geometric entities in your model, you can utilize the Selection List window and display geometry labels. The short tutorial video included below will show you how.
Enabling geometry labels allows you to see the numbering of all of your model's geometric entities in the Graphics window. You can simultaneously see your geometry and its numbered label when selecting materials, boundary conditions, and more.
Envoyer des commentaires sur cette page ou contacter le support ici.
